☕️ Why You Need a Brew Recipe (and How to Use Ours)
If you’ve started exploring specialty coffee at home, you’ve probably noticed how unpredictable it can feel. One day your pour-over tastes incredible, the next, it’s flat or bitter.
The difference usually isn’t the coffee itself.
It’s the recipe.
A consistent brew recipe gives you control, clarity, and repeatability, the same qualities that define great coffee. At Nordic Brew Lab, we use structured brew recipes every single day in our cafés, and the one we’re about to share below is the same recipe our baristas use behind the bar.
Let’s walk through why you need one, the equipment you’ll need, and how to start brewing like a professional at home.
Why Pour-Over?
Over the past 15 years, pour-over brewing has gone from niche to essential. Unlike an automatic coffee maker, a pour-over lets you control every variable: temperature, pour structure, flow rate, and extraction.
That control is what makes it the favorite method of both home brewers and world-class baristas. It’s also flexible, you can brew exactly the amount you want, from one cup to a full carafe, with minimal waste.
But the real reason we love pour-over?
It’s fun. It's tasty and deeply rewarding once you start understanding how small adjustments shape the flavor in your cup.
What You Need for Pour-Over
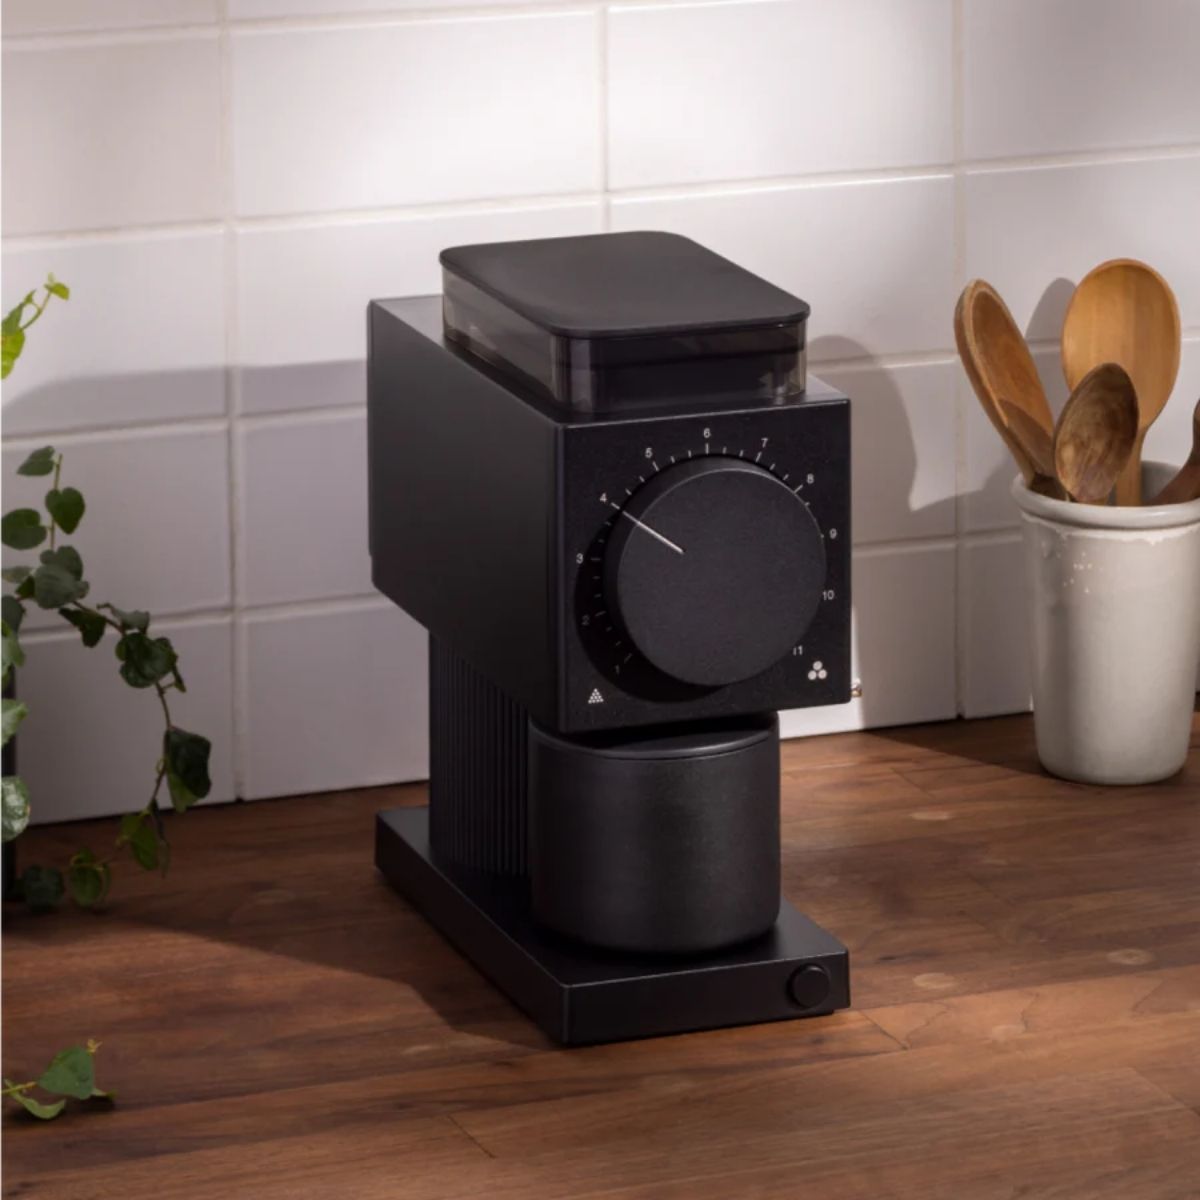
If you’ve already got the three core essentials — fresh specialty coffee, a grinder, and a set of scales — here are the final pieces you’ll need:
- A Brewer: Choose something functional and timeless. We love the Hario V60 Metal Black — simple, elegant, and consistent.
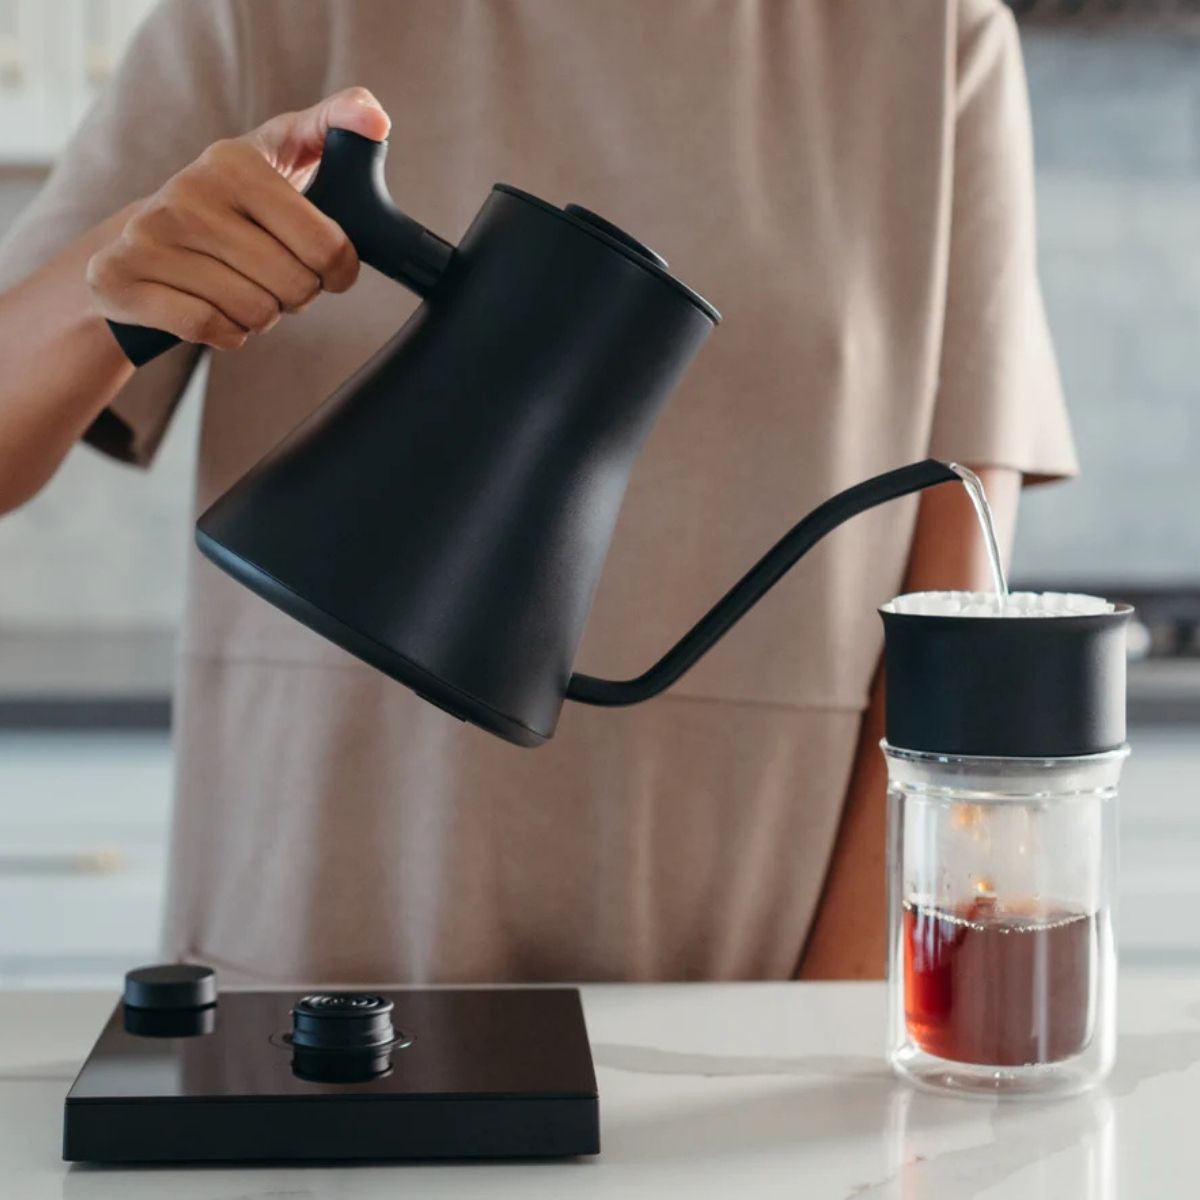
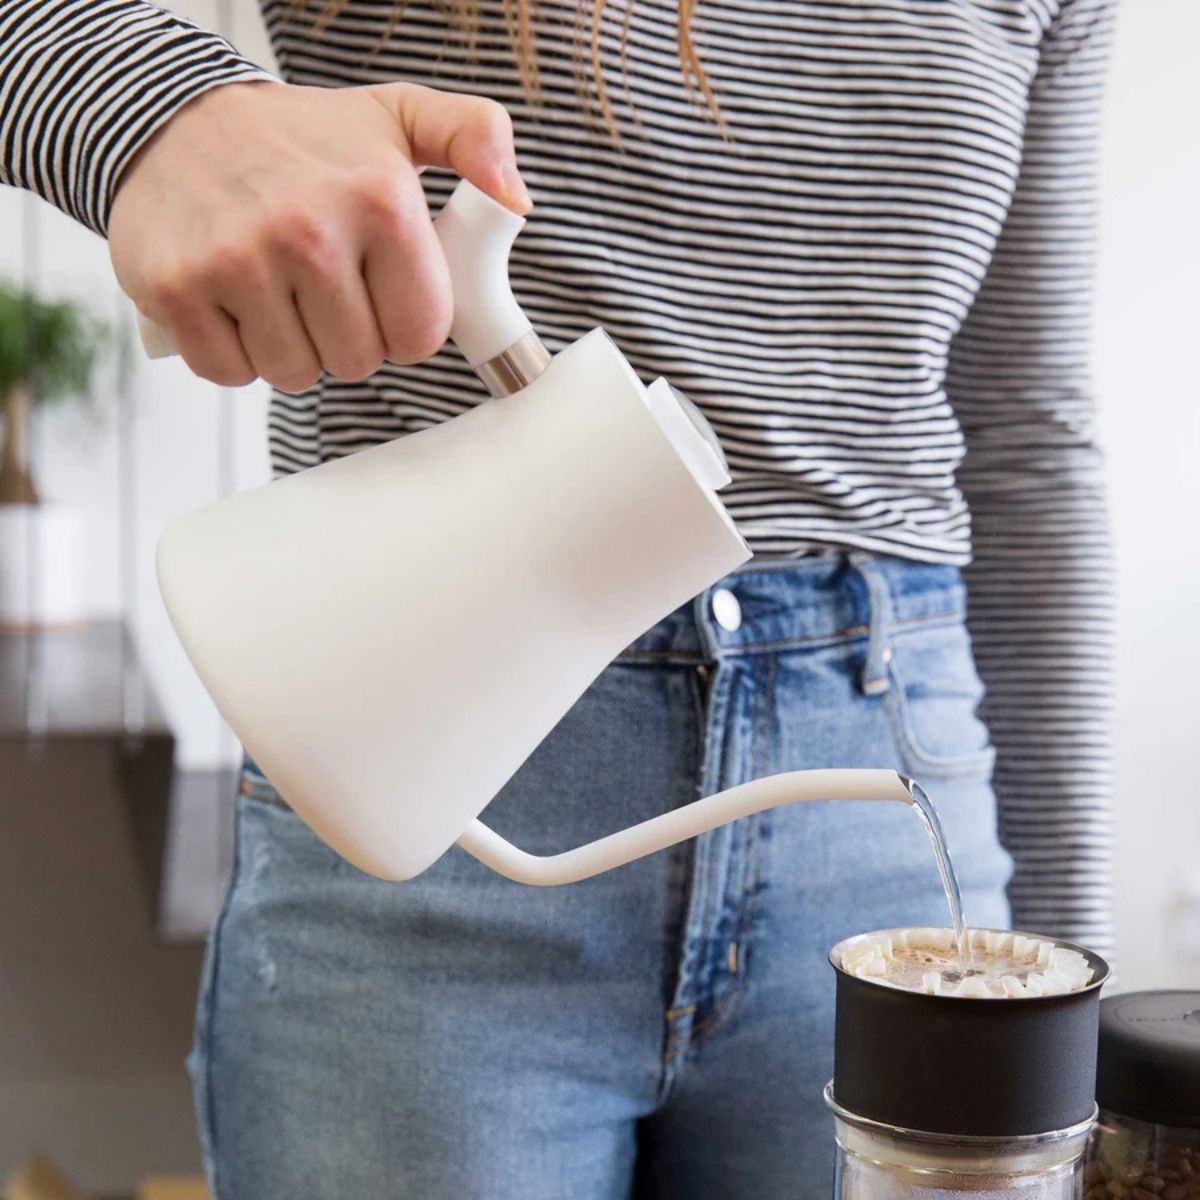
- A Gooseneck Kettle: Essential for precise pouring and temperature control. The Fellow Stagg Kettle is our daily driver at Nordic Brew Lab.
With this gear, you’re ready to follow a real brew recipe, just like we do in our cafés.
What Is a Brew Recipe?
A brew recipe is a simple framework that defines the four key variables in any pour-over:
- Dose — how much coffee you use.
- Total Brew Volume — how much water you pour.
- Target Brew Time — how long the water takes to pass through the coffee bed.
- Pour Structure — how you distribute the water throughout the brew.
Having a defined recipe helps you isolate variables. If the coffee tastes off, you can adjust one thing at a time instead of guessing. It’s the foundation of repeatability, both at home and professionally.
The Nordic Brew Lab Pour-Over Recipe
This is the same recipe we use in our Nordic Brew Lab stores, the exact one our baristas brew with daily. It’s designed to highlight the clarity and sweetness of light-roasted, single-origin coffees.
NBL House Recipe (V60):
- Dose: 18 g coffee
- Total Brew Volume: 300 g water
- Grind Size: Medium (slightly coarser than table salt)
- Target Brew Time: 2:30 – 3:00
Pour Structure:
- 0:00 – 60 g bloom (don't stir)
- 0:30 – +60 g (to 120 g total)
- 1:00 – +60 g (to 180 g total)
- 1:30 – +120 g (to 300 g total)
This recipe works beautifully for most light to medium roasts. Expect a clean, transparent cup with high sweetness and a balanced acidity.
At Nordic Brew Lab we're exclusively using Sibarist filters for our brews, which are designed to have a faster flow rate than traditional filters. These result in sweeter, cleaner and silkier brews overall.
How to Calibrate Your Brew
Here’s where most people go wrong, they change too many things at once. When you’re dialing in a new coffee, adjust only the grind size.
- If your coffee tastes sour or thin, grind finer.
- If it tastes bitter or harsh, grind coarser.
Keep every other parameter the same: same dose, same water weight, same pour timing. If you change anything else,water temperature, dose, or pour structure, it becomes a new brew recipe, and you’ll have to start fresh.
This simple discipline is how professionals develop consistency.
Tips for Better Pour-Overs
- Rinse your paper filter with hot water before brewing. It removes paper taste and preheats the brewer.
- Keep your pour steady and close. A 5–10 cm pour height helps maintain a solid water stream.
- Pour in circles, starting from the center and moving outward, to keep the coffee bed even.
- Record your results. Write down dose, grind size, and brew time. It’s the easiest way to learn fast.
Why It Matters
Following a brew recipe isn’t about rigid rules, it’s about learning cause and effect. Once you have a stable recipe, you can start making small, intentional tweaks: adjusting grind, temperature, or flow rate to reveal new flavor dimensions.
That’s when brewing coffee becomes an art form, one grounded in precision.
Try It Yourself
Grab your favorite light-roasted coffee, a V60 or Kalita, and follow the Nordic Brew Lab recipe above. Once you’ve brewed it a few times, start exploring small adjustments to see how your coffee responds.
Need equipment to get started?
Browse our selection of Brewers, kettles and grinders below 👇
Or learn more in our guide: Getting Started With Coffee at Home.
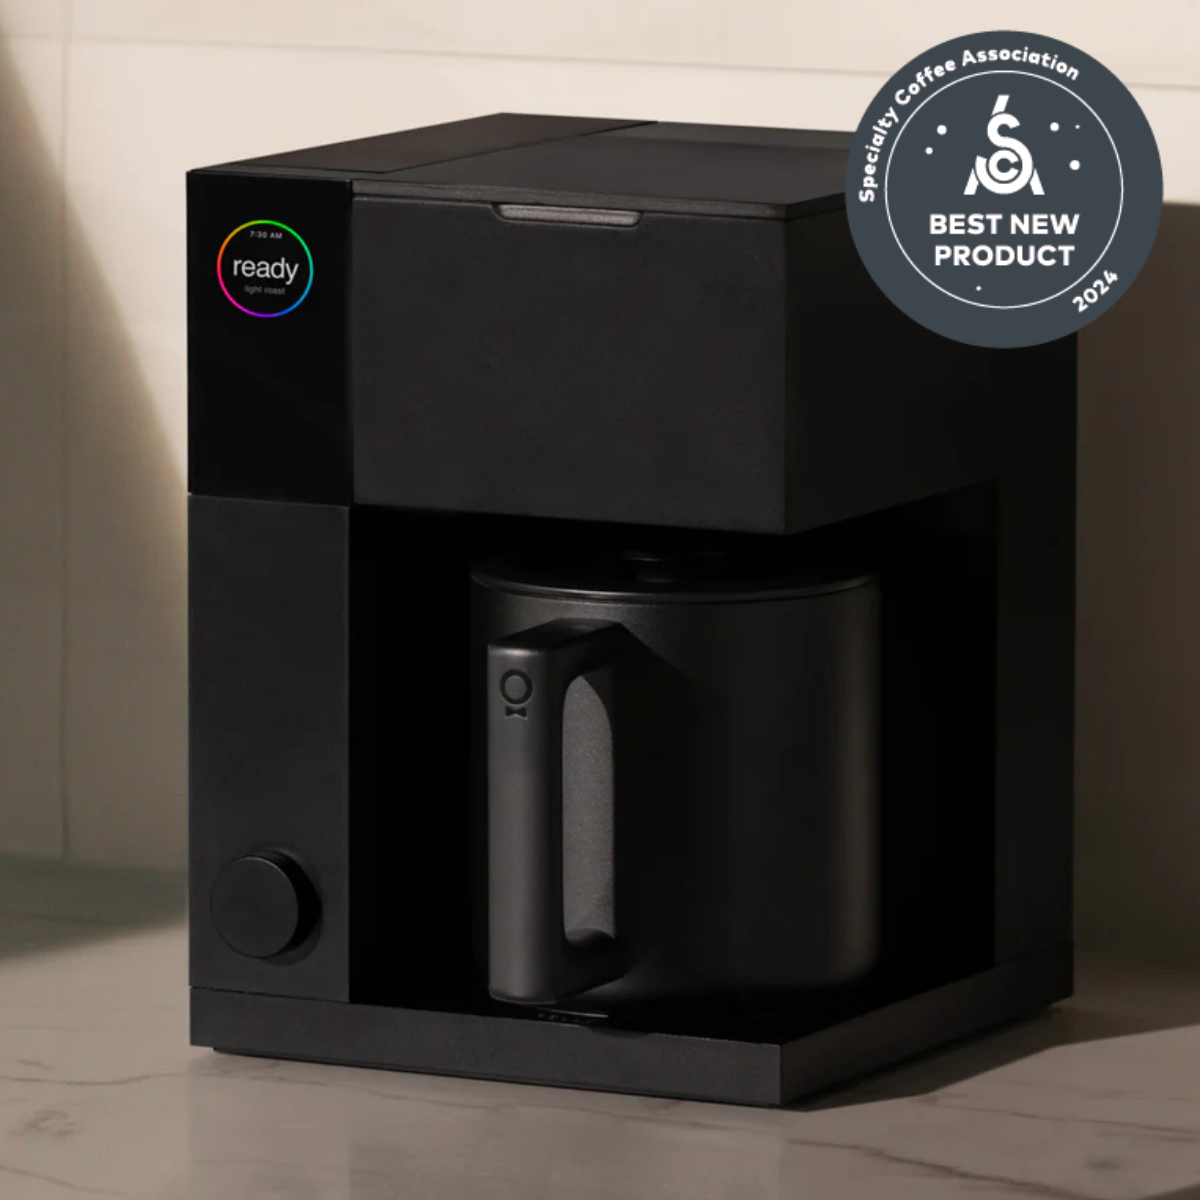
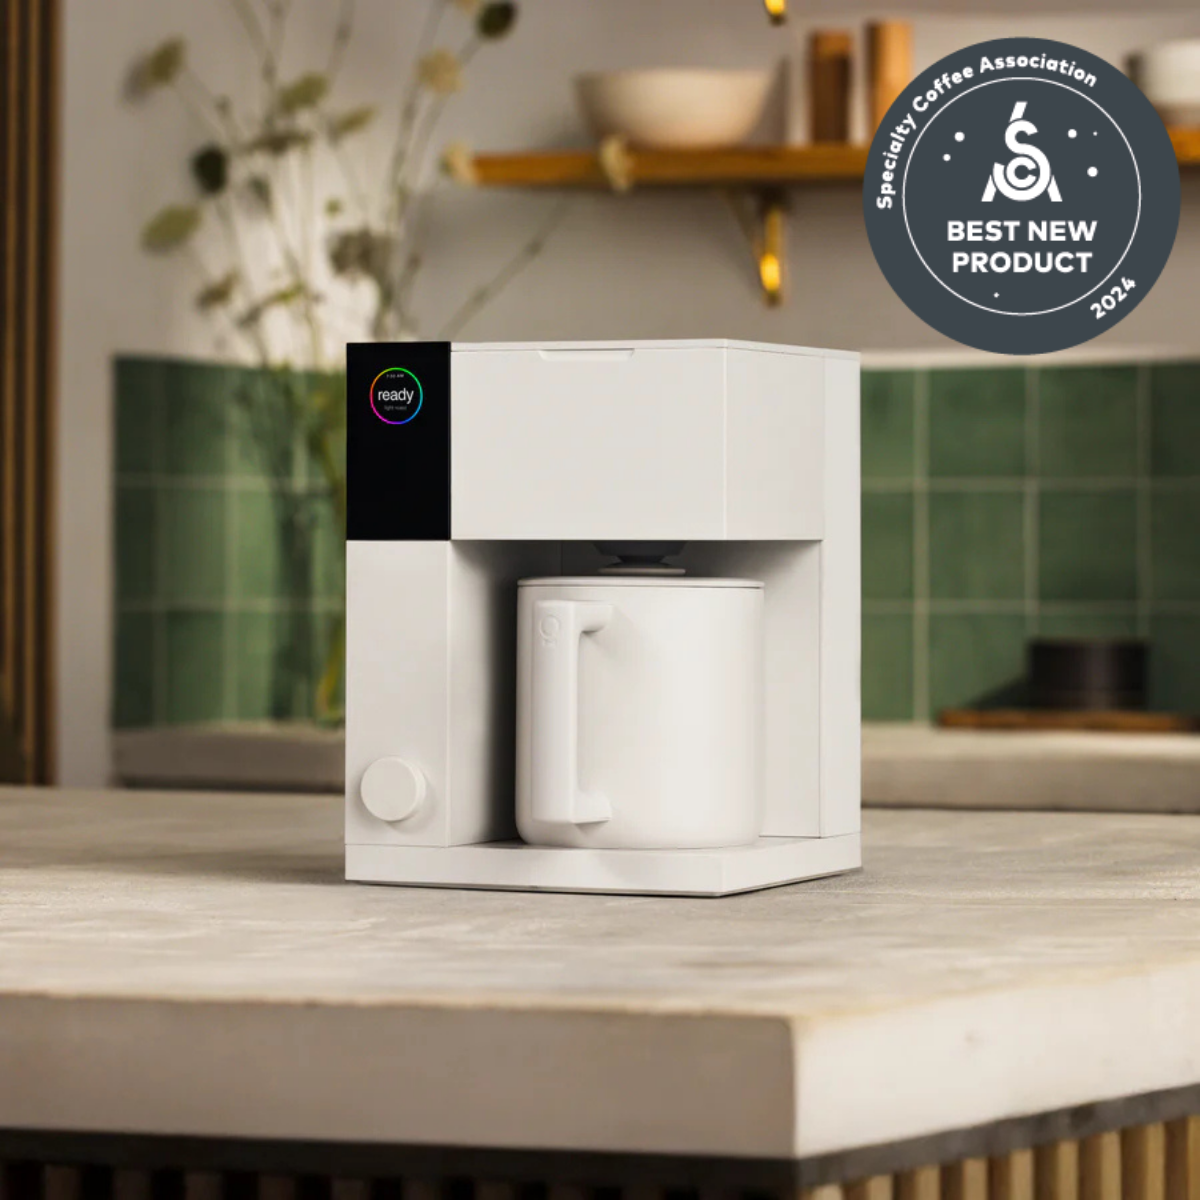
If you've love to be able to replicate pour-overs at home, without having to invest in a full setup of a grinder, scale, kettle and brewer, xBloom Studio might be for you!
Happy brewing!